AutoCAD(CAD)制作温馨圣诞烛光的渲染方法
软件云 人气:0
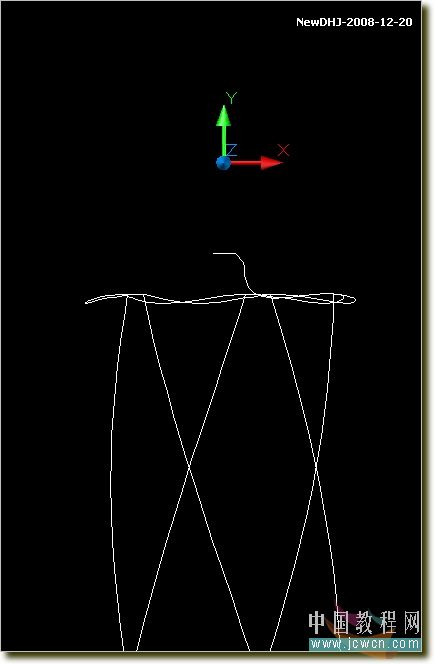
一、进入三维的环境设置
1、首先设置CAD2006菜单下的格式选项,先设置单位,用公制。


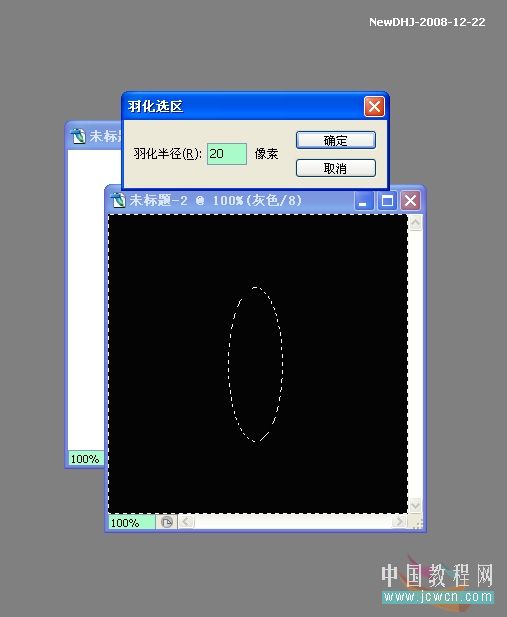
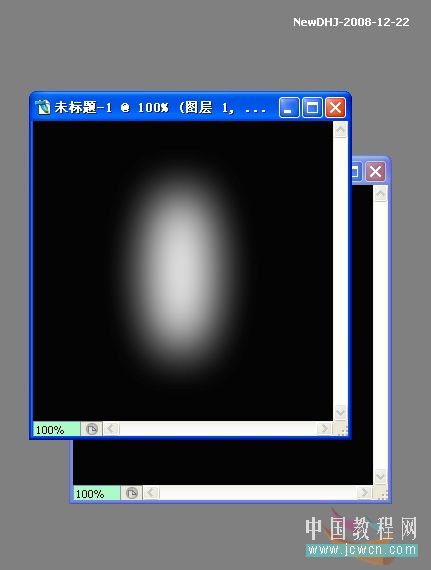
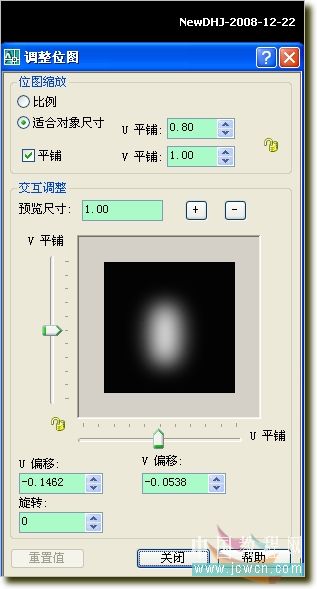
7、新建一黑一白两个300x300图片,在黑图上用选框工具画个椭圆


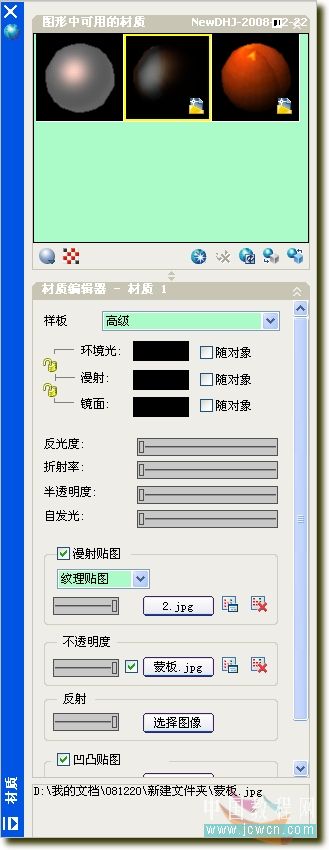
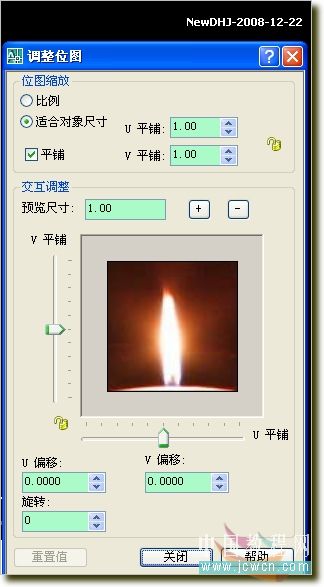
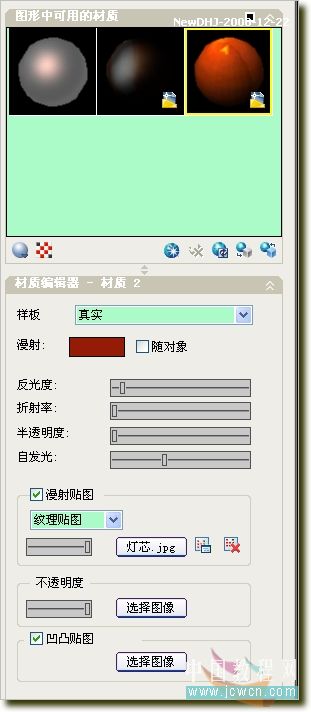
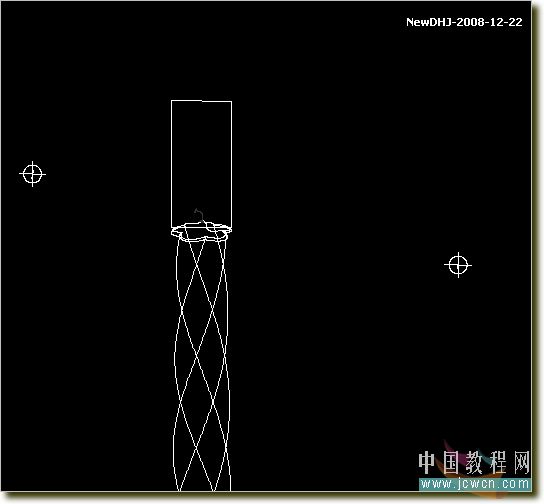
13、新建一材质。纹理帖图选烛光图片,不透明度选蒙板.jpg图片。具体参考图片。将材质运用到火苗光的矩形面域上


1、首先设置CAD2006菜单下的格式选项,先设置单位,用公制。
7、新建一黑一白两个300x300图片,在黑图上用选框工具画个椭圆
13、新建一材质。纹理帖图选烛光图片,不透明度选蒙板.jpg图片。具体参考图片。将材质运用到火苗光的矩形面域上
加载全部内容