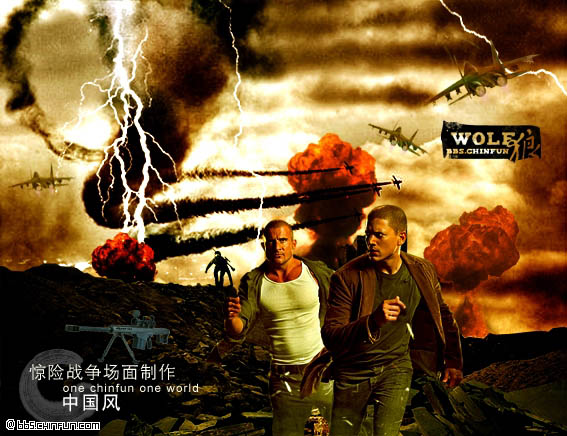
Photoshop电影海报教程
admin 人气:0最终效果
![ps电影海报教程 教程](https://img.qb5200.com/download-x/20201126/250429.jpg)
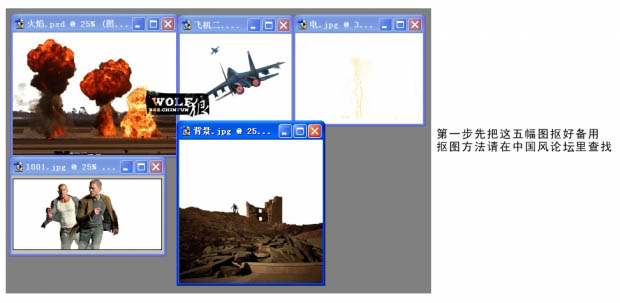
1、打开下图所示的素材图片,分别按下图所示的效果抠出来。
![](https://img.qb5200.com/download-x/20201126/250430.jpg)
![](https://img.qb5200.com/download-x/20201126/250431.jpg)
![](https://img.qb5200.com/download-x/20201126/250432.jpg)
![](https://img.qb5200.com/download-x/20201126/250433.jpg)
![](https://img.qb5200.com/download-x/20201126/250434.jpg)
![](https://img.qb5200.com/download-x/20201126/250435.jpg)
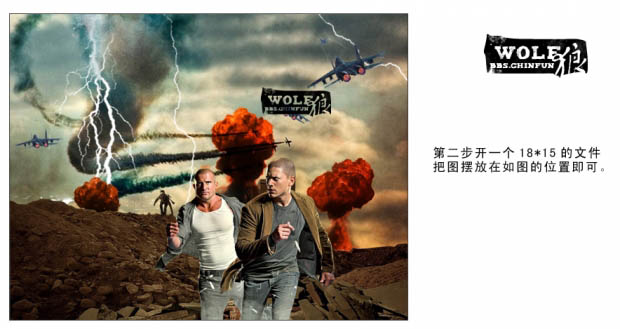
2、新建一个18 * 15CM 像素的文件,把素材图拖进来,适当摆好位置,如下图。
![](https://img.qb5200.com/download-x/20201126/250436.jpg)
3、回到人物图层,按Ctrl + M 调整曲线,参数及效果如下图。
![](https://img.qb5200.com/download-x/20201126/250437.jpg)
4、按Ctrl + B 对人物调整色彩平衡,参数设置如下图。
![](https://img.qb5200.com/download-x/20201126/250438.jpg)
5、用快速蒙版选出人物身上色彩不统一的地方,如下图。
![](https://img.qb5200.com/download-x/20201126/250439.jpg)
6、用曲线再次调整人物的色彩。
![](https://img.qb5200.com/download-x/20201126/250440.jpg)
7、为飞机图片加上烟雾突出效果。
![](https://img.qb5200.com/download-x/20201126/250441.jpg)
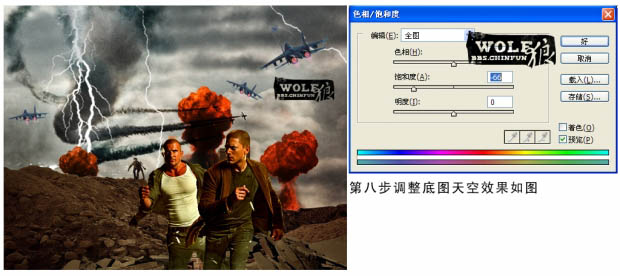
8、调整底图天空部分的颜色,参数及效果如下图。
![](https://img.qb5200.com/download-x/20201126/250442.jpg)
9-11、再次调整天空部分的颜色,这次使用色彩平衡,参数设置如下图。
![](https://img.qb5200.com/download-x/20201126/250443.jpg)
![](https://img.qb5200.com/download-x/20201126/250444.jpg)
12、按Ctrl + B 对天空部分调整色彩平衡,参数及效果如下图。
![](https://img.qb5200.com/download-x/20201126/250445.jpg)
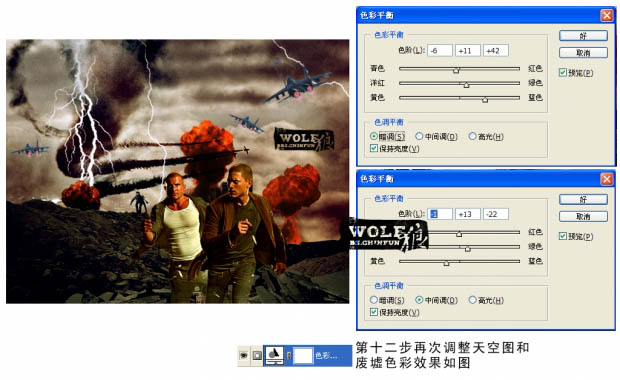
13,14、用色阶及曲线调整天空及废墟部分的颜色。
![](https://img.qb5200.com/download-x/20201126/250446.jpg)
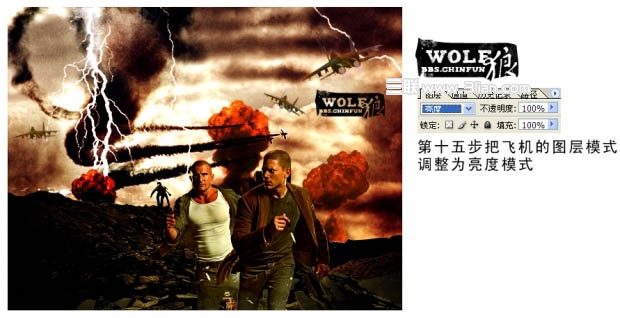
15、把飞机图层的混合模式改为“亮度”。
最终效果:
![](https://img.qb5200.com/download-x/20201126/250447.jpg)
![](https://img.qb5200.com/download-x/20201126/250448.jpg)
16、在图层的最上面创建色彩平衡调整图层,参数及效果如下图。
![](https://img.qb5200.com/download-x/20201126/250449.jpg)
加载全部内容