IDEA搭建springBoot 详解IDEA搭建springBoot方式一(推荐)
时光斑驳了记忆 人气:0想了解详解IDEA搭建springBoot方式一(推荐)的相关内容吗,时光斑驳了记忆在本文为您仔细讲解IDEA搭建springBoot的相关知识和一些Code实例,欢迎阅读和指正,我们先划重点:IDEA搭建springBoot,IDEA,springBoot,下面大家一起来学习吧。
1.先在IDEA配置maven
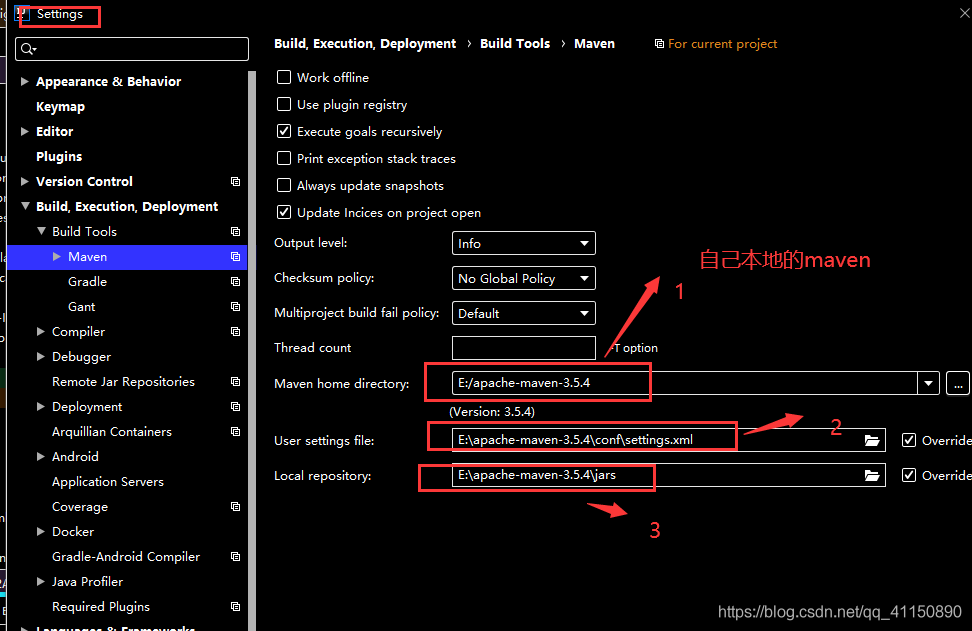
maven下载和配置可以看https:
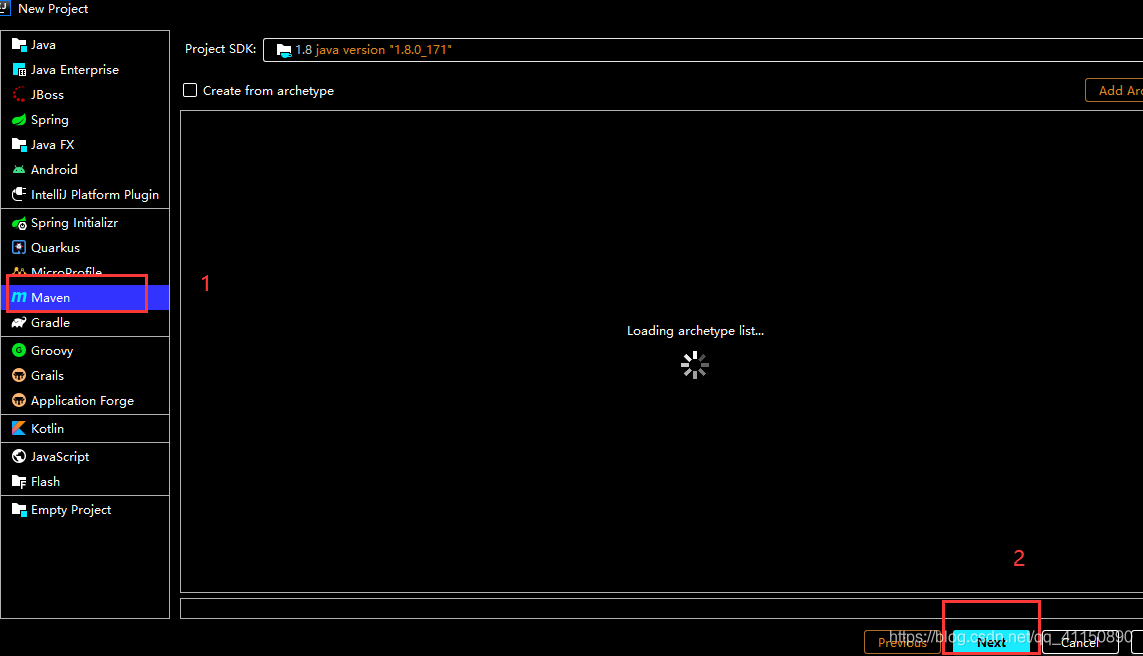
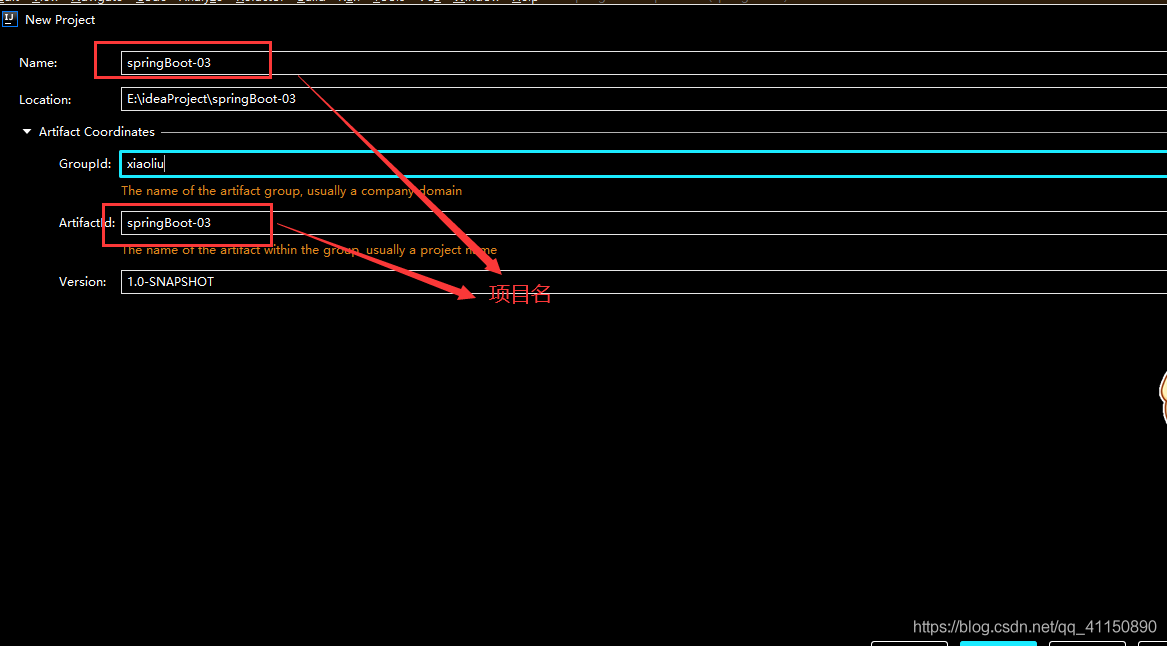
2.新建maven项目
3.在pom.xml加入springBoot依赖
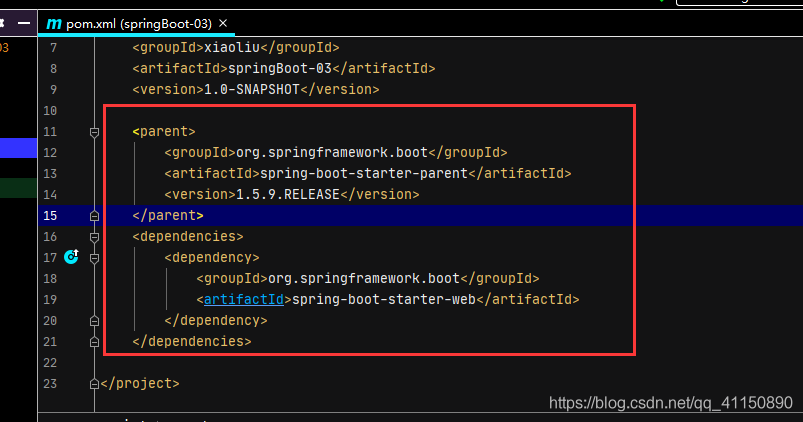
<parent>
  <groupId>org.springframework.boot</groupId>
  <artifactId>spring-boot-starter-parent</artifactId>
  <version>1.5.9.RELEASE</version>
 </parent>
 <dependencies>
  <dependency>
   <groupId>org.springframework.boot</groupId>
   <artifactId>spring-boot-starter-web</artifactId>
  </dependency>
 </dependencies>
4.创建类(用来启动项目),写如下代码
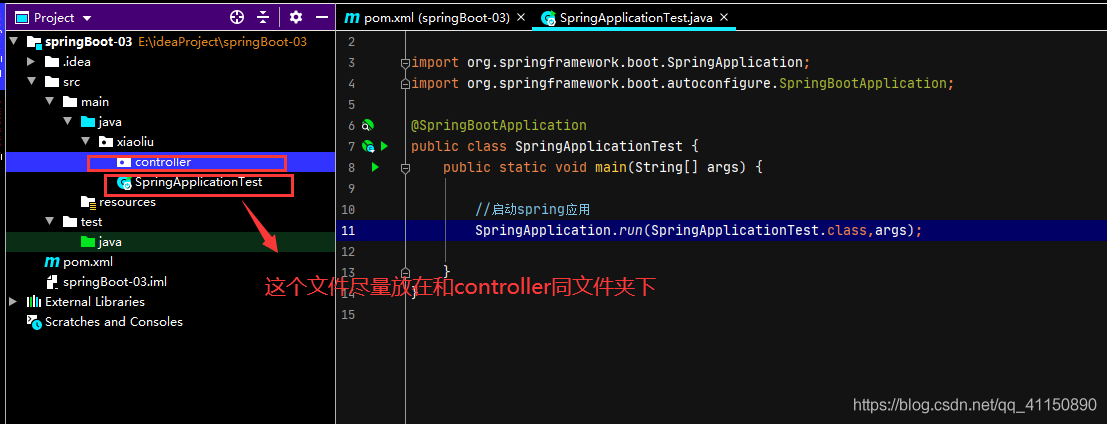
package xiaoliu;

import org.springframework.boot.SpringApplication;
import org.springframework.boot.autoconfigure.SpringBootApplication;

@SpringBootApplication
public class SpringApplicationTest {
 public static void main(String[] args) {

  //启动spring应用
  SpringApplication.run(SpringApplicationTest.class,args);

 }
}
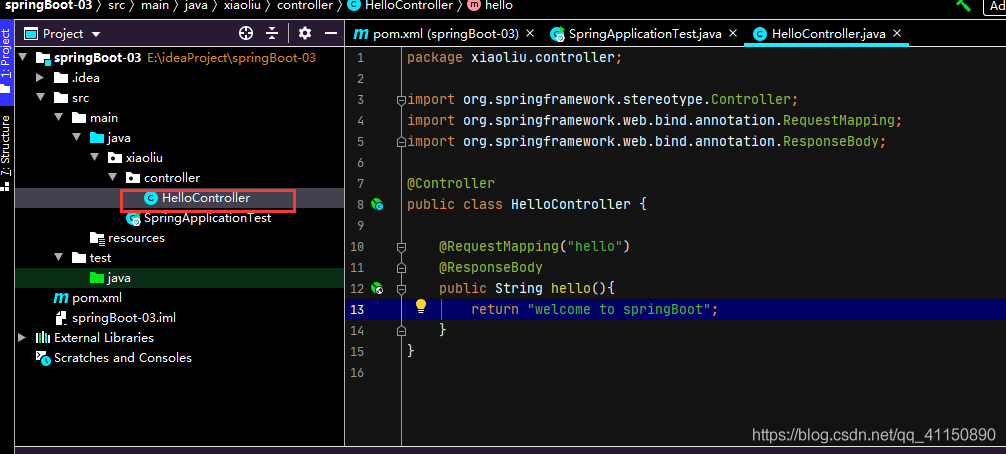
5.创建Controller 写代码如下
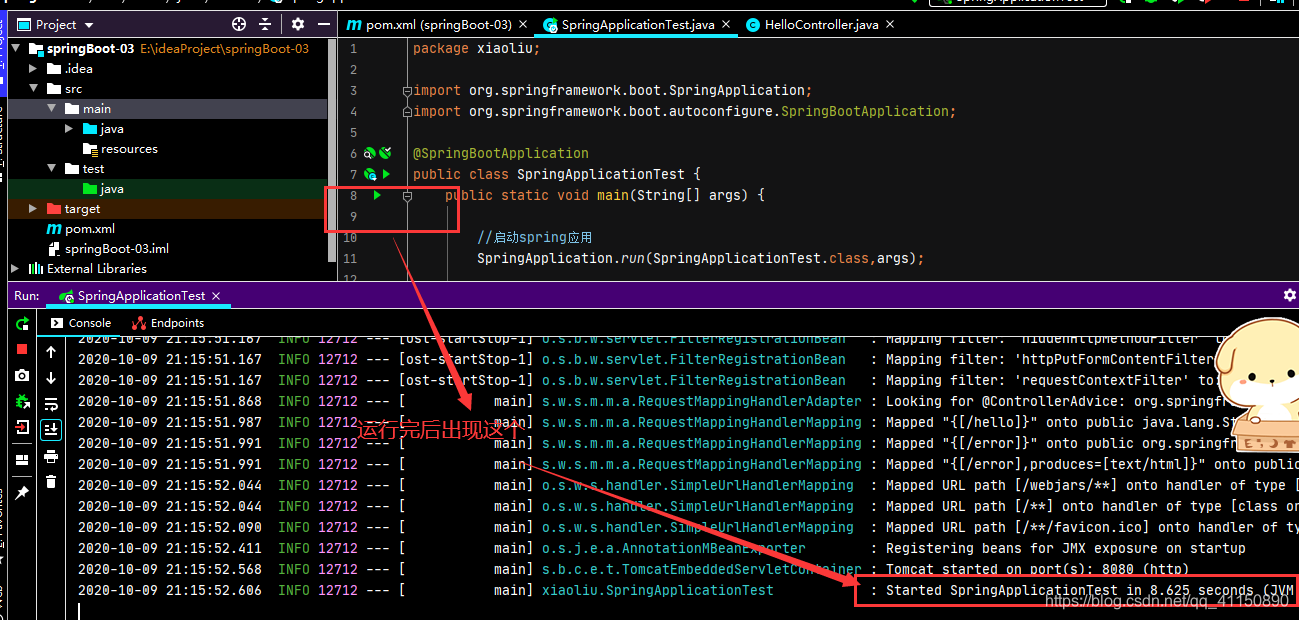
5.运行

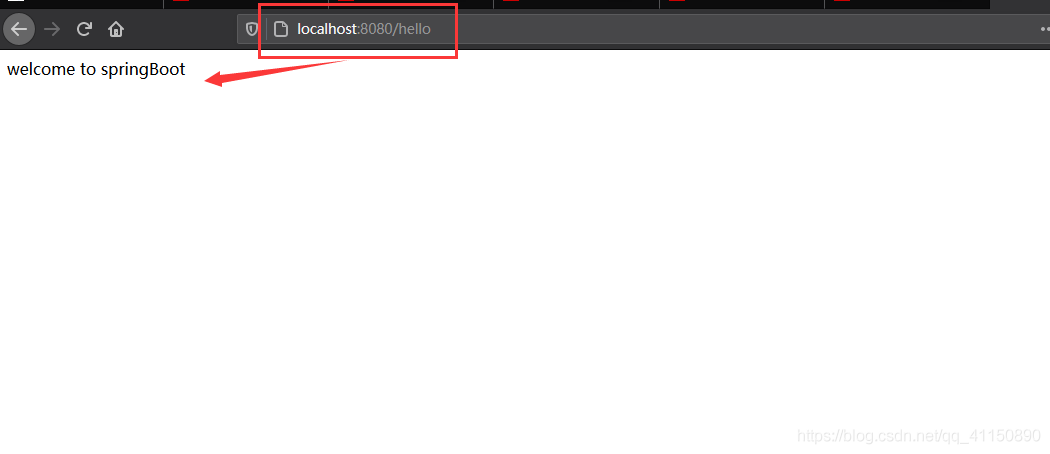
6.访问项目
在页面中输入http://localhost:8080/hello 即可访问项目。
可以用idea 打包 成jar
然后用 java -jar hello.jar 运行springboot 项目
springboot中已经自带了tomcat,所以可以没有tomcat环境
加载全部内容