C++ 对象构造顺序
清风自在 流水潺潺 人气:0一、局部对象的构造顺序
对于局部对象
当程序执行流到达对象的定义语句时进行构造
下面看一个局部对象的构造示例:
#include <stdio.h>

class Test
{
private:
    int mi;
public:
    Test(int i)
    {
        mi = i;
        printf("Test(int i): %d\n", mi);
    }
    Test(const Test& obj)
    {
        mi = obj.mi;
        printf("Test(const Test& obj): %d\n", mi);
    }
};

int main()
{
    int i = 0;
    Test a1 = i;

    while( i < 3 )
    {
        Test a2 = ++i;
    }

    if( i < 4 )
    {
        Test a = a1;
    }
    else
    {
        Test a(100);
    }

    return 0;
}
输出结果如下:

如果对象没有被初始化会发生什么,下面看一个示例:
#include <stdio.h>

class Test
{
private:
    int mi;
public:
    Test(int i)
    {
        mi = i;
        printf("Test(int i): %d\n", mi);
    }
    Test(const Test& obj)
    {
        mi = obj.mi;
        printf("Test(const Test& obj): %d\n", mi);
    }
    int getMi()
    {
        return mi;
    }
};

int main()
{
    int i = 0;
    Test a1 = i;

    while( i < 3 )
    {
        Test a2 = ++i;
    }
goto End;
    Test a(100);
End:
    printf("a.mi = %d\n", g.getMi());
    return 0;
}
在 g++ 编译器下,就会报错,让不要使用 goto 语句,会跳过初始化

二、堆对象的构造顺序
对于堆对象
- 当程序执行流到达 new 语句时创建对象
- 使用 new 创建对象将自动触发构造函数的调用
下面看一个堆空间的构造顺序示例:
#include <stdio.h>
class Test
{
private:
int mi;
public:
Test(int i)
{
mi = i;
printf("Test(int i): %d\n", mi);
}
Test(const Test& obj)
{
mi = obj.mi;
printf("Test(const Test& obj): %d\n", mi);
}
int getMi()
{
return mi;
}
};
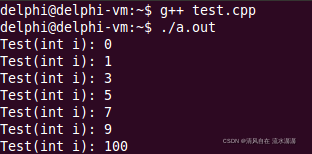
int main()
{
int i = 0;
Test* a1 = new Test(i); // Test(int i): 0
while( ++i < 10 )
if( i % 2 )
new Test(i); // Test(int i): 1, 3, 5, 7, 9
if( i < 4 )
new Test(*a1);
else
new Test(100); // Test(int i): 100
return 0;
}输出结果如下:
三、全局对象的构造顺序
对于全局对象
- 对象的构造顺序是不确定的
- 不同的编译器使用不同的规则确定构造顺序
下面看一个全局对象的构造顺序示例:
test.h:
#ifndef _TEST_H_

#define _TEST_H_

#include <stdio.h>

class Test
{

public:

    Test(const char* s)
    {
        printf("%s\n", s);
    }
};

#endif
test.cpp:
#include "test.h"
Test t4("t4");
int main()
{
Test t5("t5");
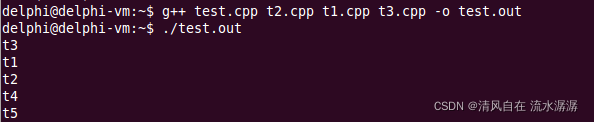
}t1.cpp:
#include "test.h"

Test t1("t1");
t2.cpp:
#include "test.h"

Test t2("t2");
t3.cpp:
#include "test.h"

Test t3("t3");
在 gcc 编译器中,输出结果如下:
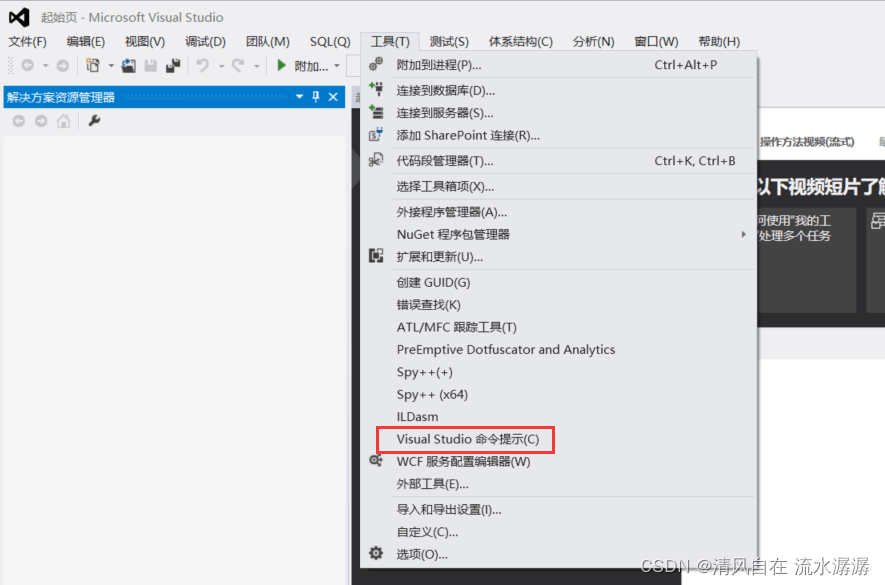
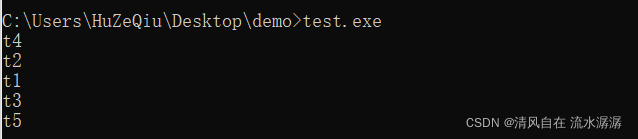
下面看一下使用 VS2012 编译这些代码:
(不知道 VS2012怎么使用命令行窗口编译程序的可以看《命令行》不需要可以跳过)

这足以说明全局变量的构造顺序是不确定的。
命令行
以下面的代码为例
test.h:
#ifndef _TEST_H_

#define _TEST_H_

#include <stdio.h>

class Test
{

public:

    Test(const char* s)
    {
        printf("%s\n", s);
    }
};

#endif
test.cpp:
#include "test.h"

Test t4("t4");

int main()

{
    Test t5("t5");
}
t1.cpp:
#include "test.h"

Test t1("t1");
t2.cpp:
#include "test.h"

Test t2("t2");
t3.cpp:
#include "test.h"

Test t3("t3");
第一步,打开 VS2012,选择 工具 -> Visual Studio 命令提示
第二步,实用 cd/d 进入需要编译的文件夹。(注意换盘符需要输入/d)
我想要编译的文件在C:\Users\HuZeQiu\Desktop\demo 文件夹里。
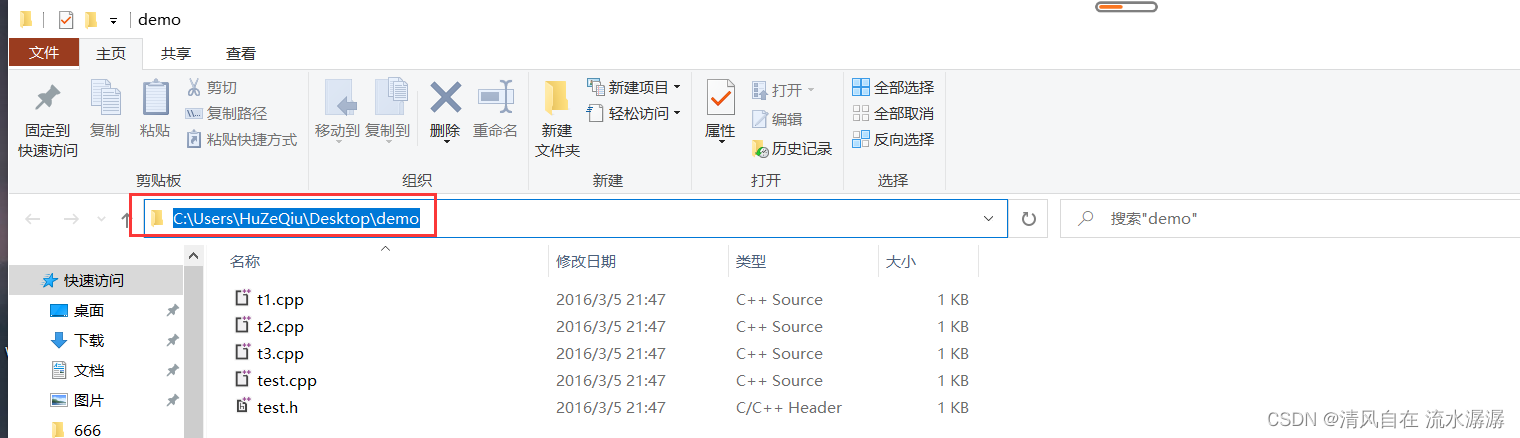
输入cd/d C:\Users\HuZeQiu\Desktop\demo,按下回车键,如下,就转到了目的文件夹

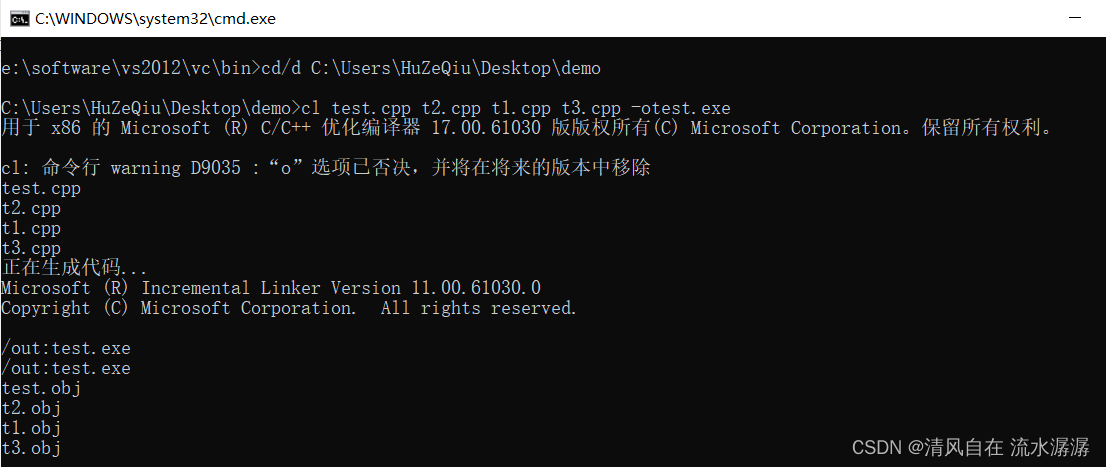
第三步,输入 cltest.cpp t2.cpp t1.cpp t3.cpp -otest.exe 编译程序。(cl 命令是用来编译程序)按下回车键后开始编译,生成 test.exe 可执行文件,如下:
第四步,运行 test.exe,直接输入 test.exe 即可,就可以看到运行结果
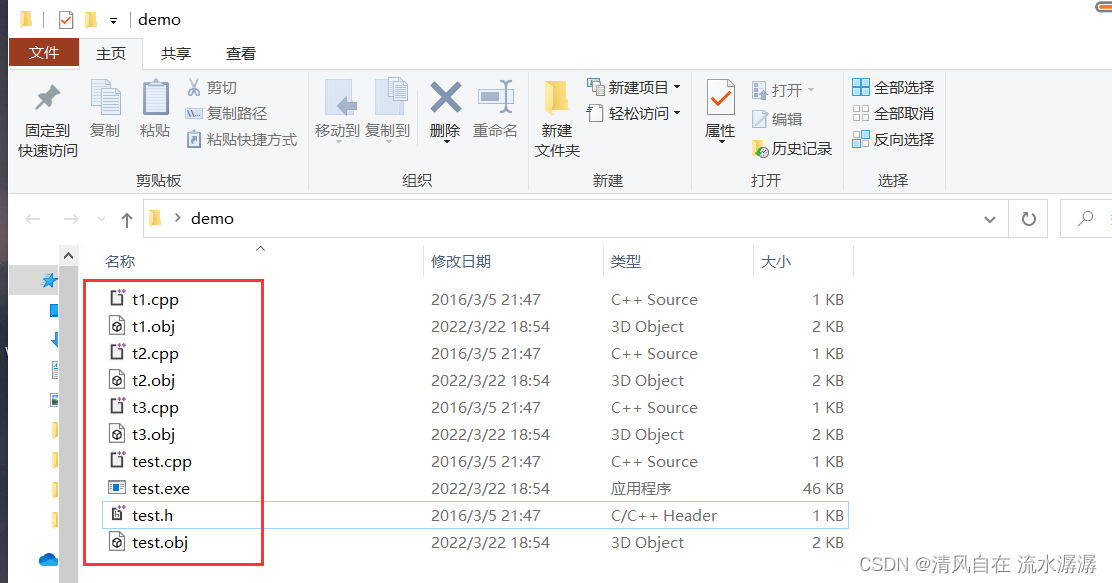
编译后的文件夹如下:
四、小结
- 局部对象的构造顺序依赖于程序的执行流
- 堆对象的构造顺序依赖于 new 的使用顺序
- 全局对象的构造顺序是不确定的
加载全部内容