Spring Boot Actuator管理日志
墨着染霜华 人气:0为了解决以下两个问题:
1、单JAR包应用查看日志需要的时候如果需要远程访问服务器登录查看日志,那样相对比较麻烦
2、生产环境为了解决BUG需要临时更换日志级别,总不能重启服务来解决吧
所以使用了actuator 其中的部分来解决这两个问题。
首先在POM文件中引入actuator依赖:
  <dependency>
            <groupId>org.springframework.boot</groupId>
            <artifactId>spring-boot-starter-actuator</artifactId>
            <version>${spring-boot.version}</version>
 </dependency>
配置文件中配置:
management.endpoints.web.base-path=/actuator
management.endpoints.web.exposure.include=logfile,loggers
management.endpoint.health.show-details=always
logging.file.name=logs/EL-3KJ/EL-3KJ.log
然后直接可以访问 http://localhost:8085/actuator
得到下列结果:
{"_links":{
"self"{"href":"http://localhost:8085/actuator","templated":false},
"logfile: {"href":"http://localhost:8085/actuator/logfile","templated":false},"loggers":{"href":"http://localhost:8085/actuator/loggers","templated":false},"loggers-name":{"href":"http://localhost:8085/actuator/loggers/{name}","templated":true}}}
其中
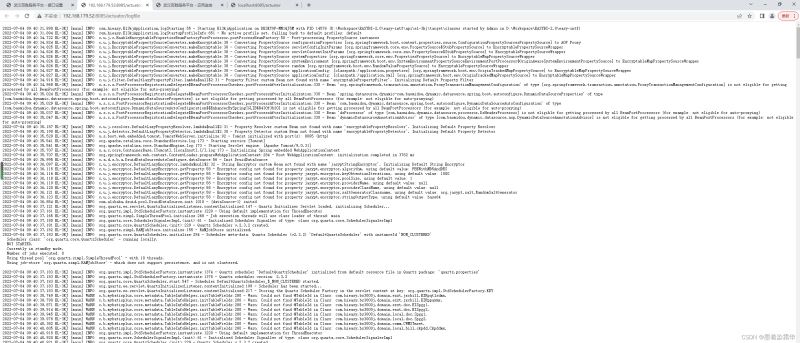
- logfile 是查看日志文件
- loggers是查看日志级别
- loggers/{name}是更改日志级别
前端参考代码:
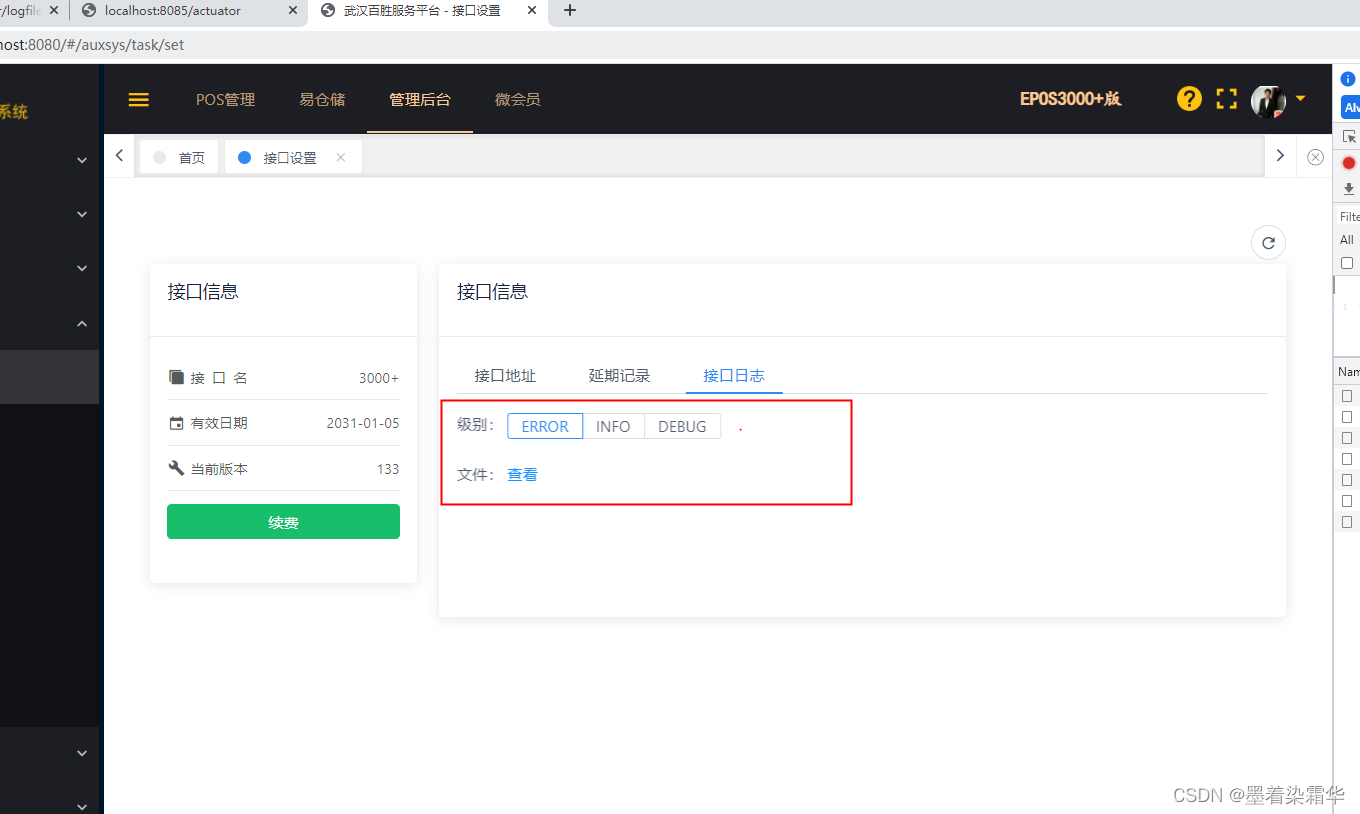
 <TabPane label="接口日志" name="name3">
                级别:
                <RadioGroup v-model="loglevel" type="button" size="small" @on-
                      change="lvChange()">
                  <Radio label="ERROR"></Radio>
                  <Radio label="INFO"></Radio>
                  <Radio label="DEBUG"></Radio>
                </RadioGroup> <br/><br/>
                文件:<a :href="logfileurl" rel="external nofollow"  target="_blank"  > 查看</a>
 </TabPane>


 this.logfileurl = res.dataApi+"actuator/logfile";
 this.loglevelurl = res.dataApi+"actuator/loggers/root";


getLogLevel(){
      this.ajax_get({
        url: this.loglevelurl,
        params: {},
      }).then((res) => {
        this.loglevel=res.configuredLevel
      });
},
lvChange(){
      this.changeLogLevel(this.loglevel)
},
changeLogLevel(level){
      this.ajax_post({
        url: this.tenant.dataApi + "actuator/loggers/root",
        params: {'configuredLevel':level},
      }).then((res) => {
        this.spinShow = false;
        if (!res.code) {
          this.$Notice.success({
            title:'更改日志级别为'+level,
            desc:res.msg
          });
        } else {
          this.$Notice.error({
            title:'更改日志级别失败',
            desc:res.msg
          });
        }
      });
 }
最终效果如下:
到此这篇关于Spring Boot Actuator管理日志的实现的文章就介绍到这了,更多相关Spring Boot Actuator管理日志内容请搜索以前的文章或继续浏览下面的相关文章希望大家以后多多支持!
加载全部内容