Nest框架集成Swagger
六号积极分子 人气:0Swagger
Swagger 是一个能够生成、描述、调用和可视化的 RESTful 风格的 Web 服务。主要是对 REST API 接口自动生成接口说明文档。生成的接口文档也是直接在线测试。即在可视化的Web 界面上直接输入参数对应的值就可以在线测试接口。
Nest 框架也提供了一个专门用于支持 Swagger 规范的模块。
Nest 中使用 Swagger
安装
首先需要安装所需要的 swagger 包
npm install --save @nestjs/swagger swagger-ui-express
初始化 Swagger
在 Nest 项目的 main.ts 文件中,使用 SwaggerModule 类初始化 Swagger
import { SwaggerModule, DocumentBuilder } from '@nestjs/swagger';
async function bootstrap() {
    const options = new DocumentBuilder()
    .setTitle('Api example')
    .setDescription('The API description')
    .setVersion('1.0')
    .addTag('Api/V1')
    .build();
  const document = SwaggerModule.createDocument(app, options);
  SwaggerModule.setup('api', app, document);
}
- DocumentBuilder : 先new 一个 DocumentBuilder 实例,主要是为构建符合 OpenApi规范的基础文档,从以上Demo中可以看到可以对 Swagger 文档设置标题、描述、版本号、tag的相关属性。
- createDocument():用于创建文档。该方法主要接收两个参数:一个是 app 应用程序实例,一个是 Swagger 选项对象。
创建完文件之后,即可调用 setup 方法。
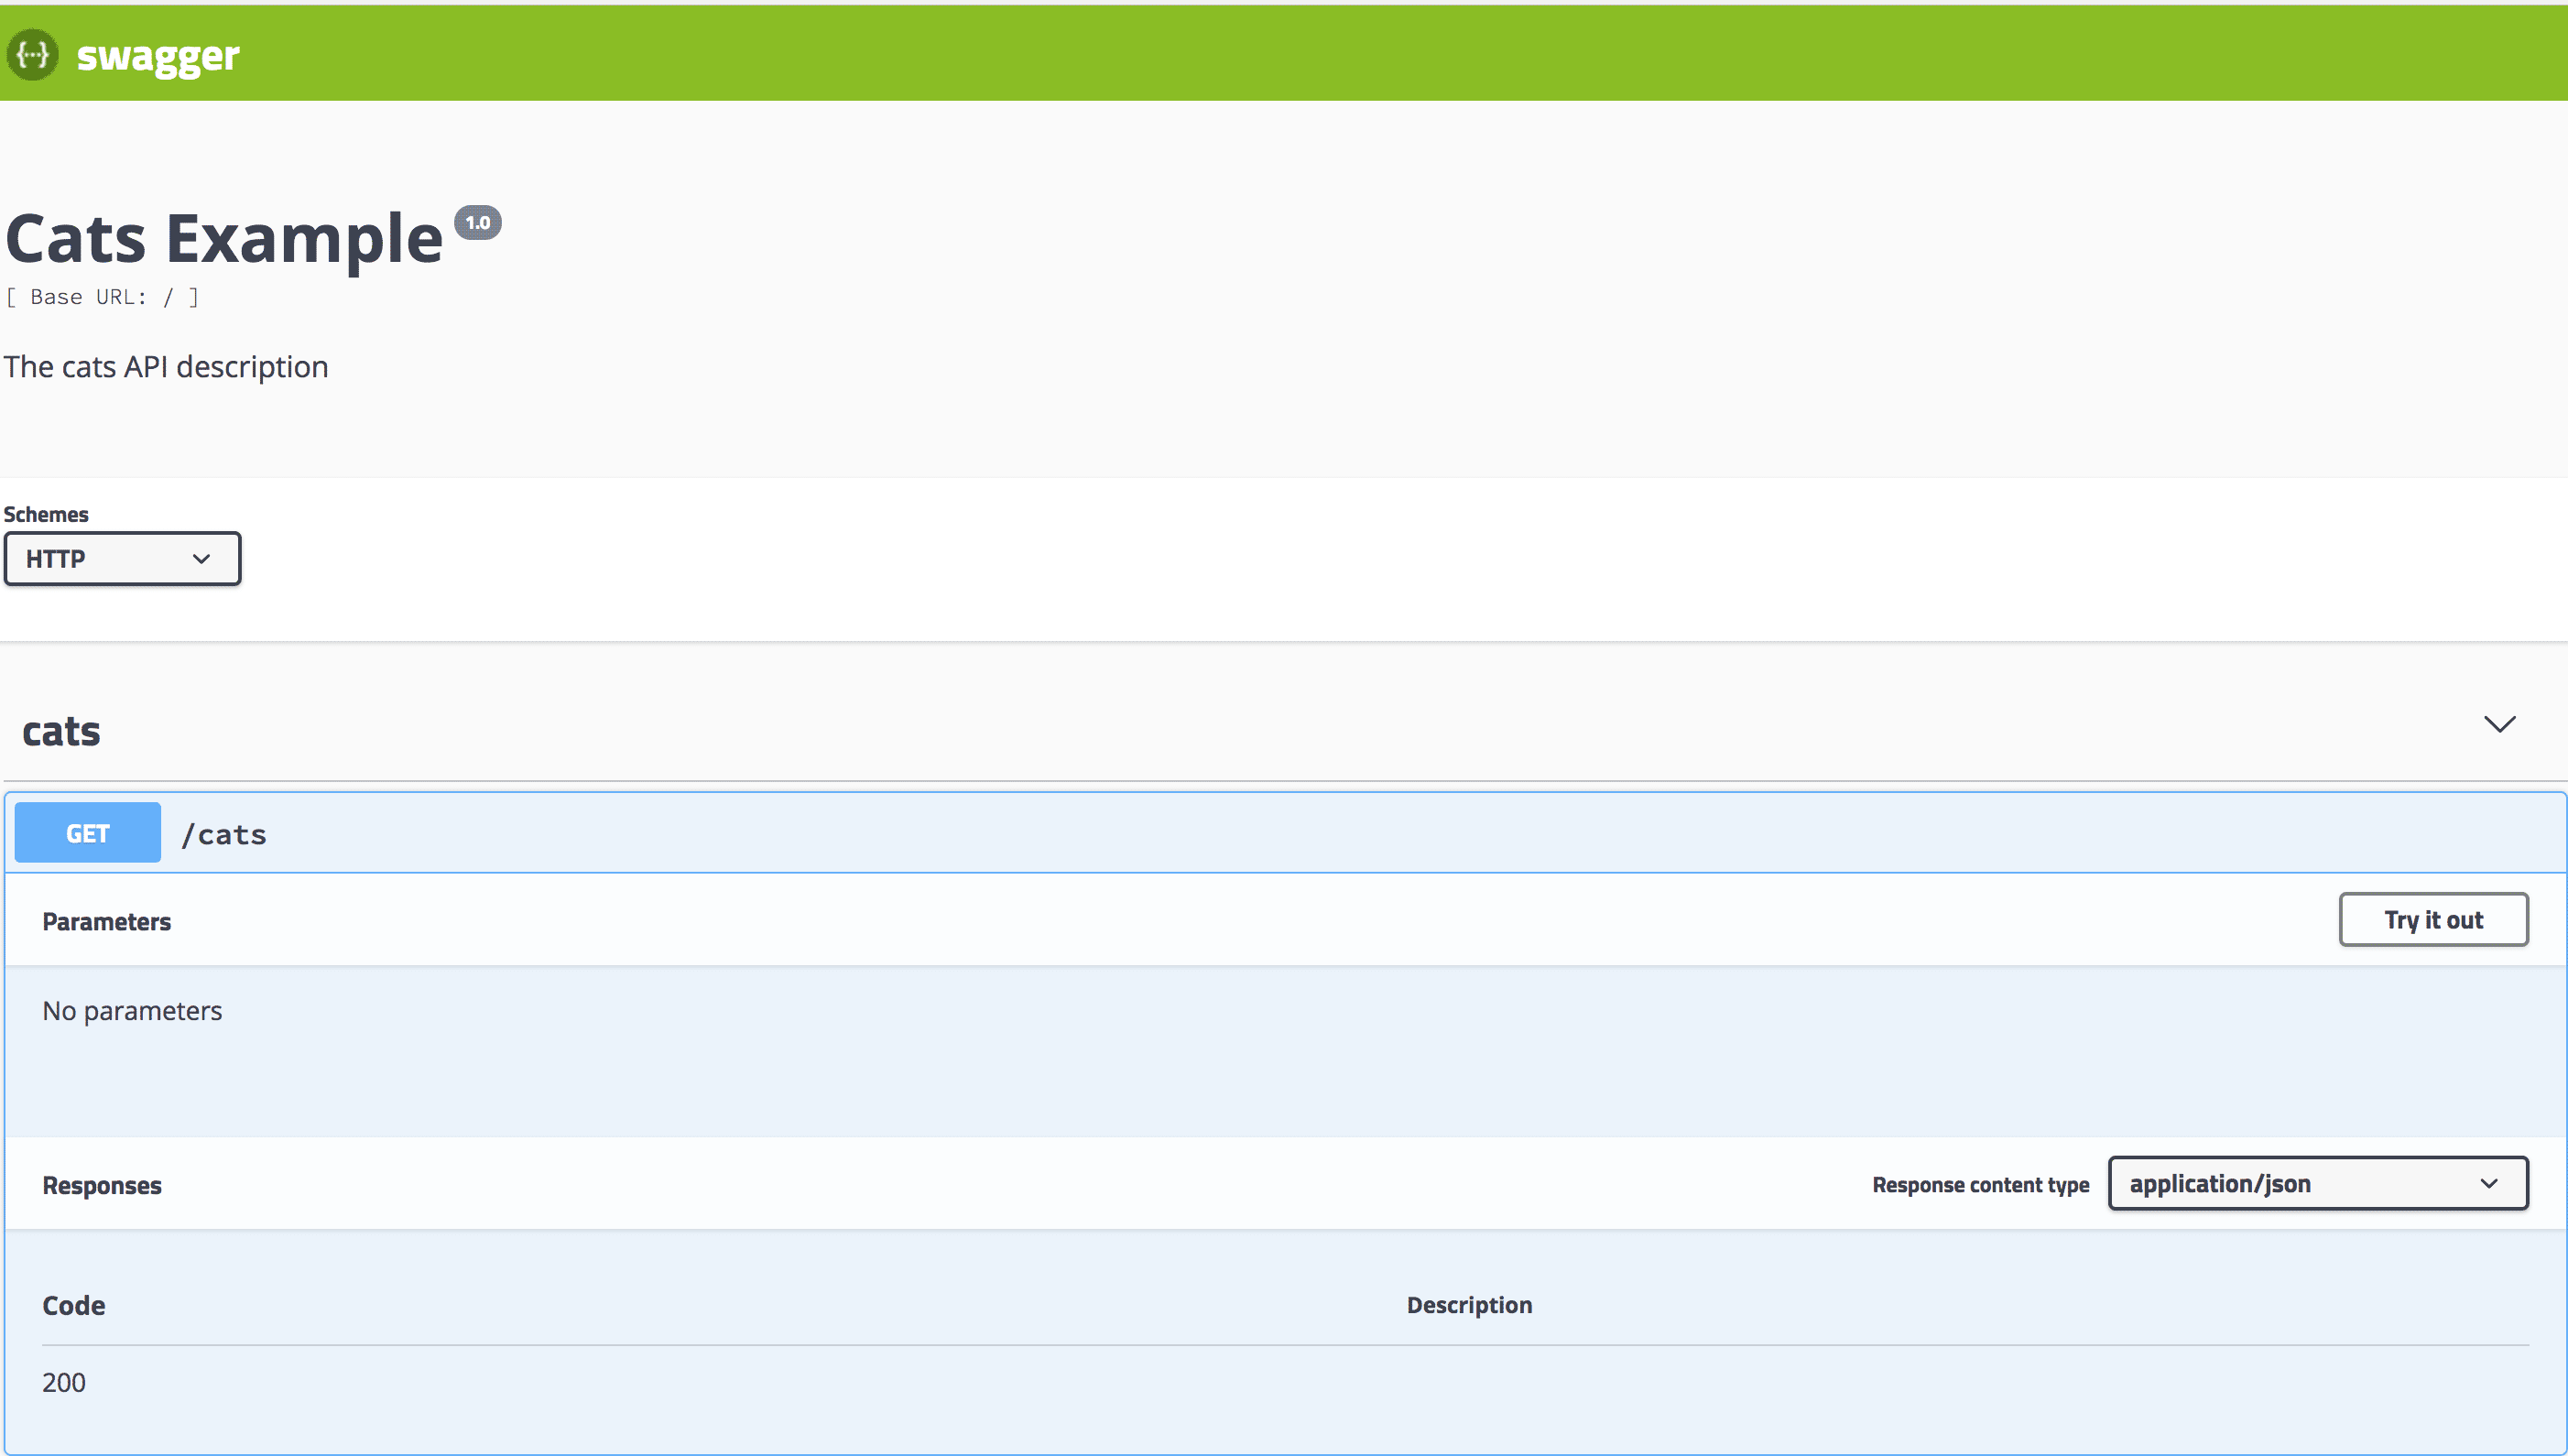
配置完之后,就可以在运行项目,通过访问 http://localhost:3000/api, 就可以打开 Swagger 的可视化界面,其中就会展示所有的接口列表。
接口中使用
所有的配置都已就位,接下来就是将每个接口都配置上 swagger ,以便接口能够展示在可视化 web界面上。
首先需要引用可支持 Swagger 的模块
import { ApiProperty } from '@nestjs/swagger';
在使用相关支持Swagger 的装饰器方法,比如 @ApiProperty() 装饰器注释所有的属性。
@ApiTags('user')
@Controller('api/v1/user')
export class UserController {
    @Post()
    @ApiCreatedResponse({
    description: 'The record has been successfully created.',
    type: User
    })
    async CreateUser(@Body() userDto:UserDto){
      // doing something
    }
}
export class UserDto {
    @ApiProperty()
    name: string;
    @ApiProperty()
    age: number
}
ApiTags :将控制器附加到特定的标签
@ApiResponse():自定义 Http 响应
@ApiProperty() 为请求指定返回模型,创建 Dto 类并使用装饰器注释所有的属性
这样设置之后,运行项目,访问 swagger 可视化界面就可以看到界面,并且在界面上测试该接口。
加载全部内容